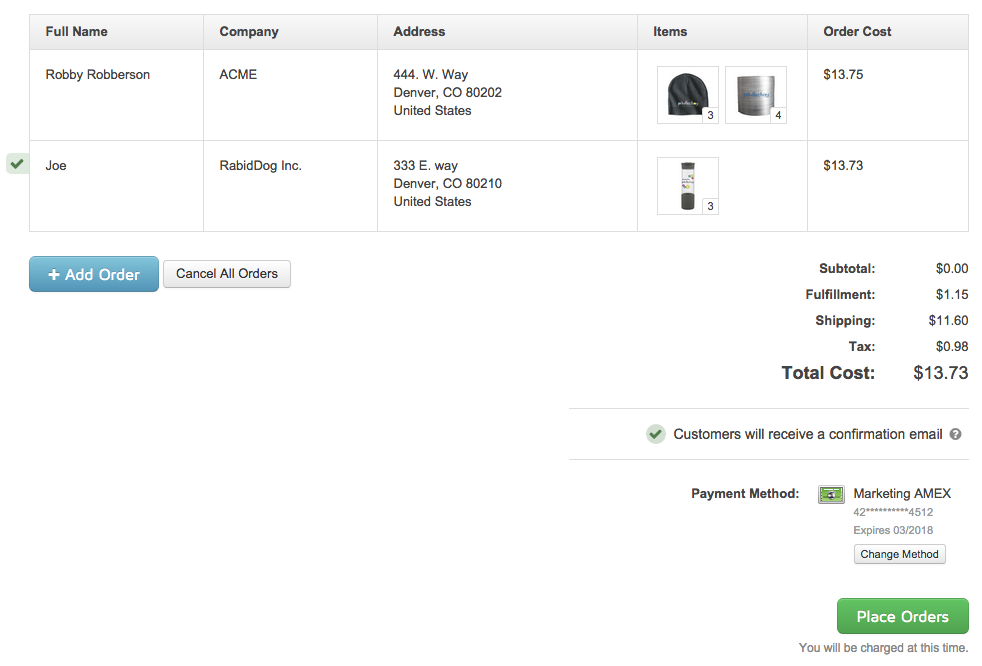
This article covers how to integrate your Printfection account with Salesforce: allowing sales reps to place their own swag orders which are then reviewed and approved by you through Printfection.
Please note, this integration requires Salesforce API access. Salesforce API access is available on the Enterprise, Unlimited and Developer editions. It can be purchased as an add-on to the Professional edition.
1. Create a new Printfection Collection campaign
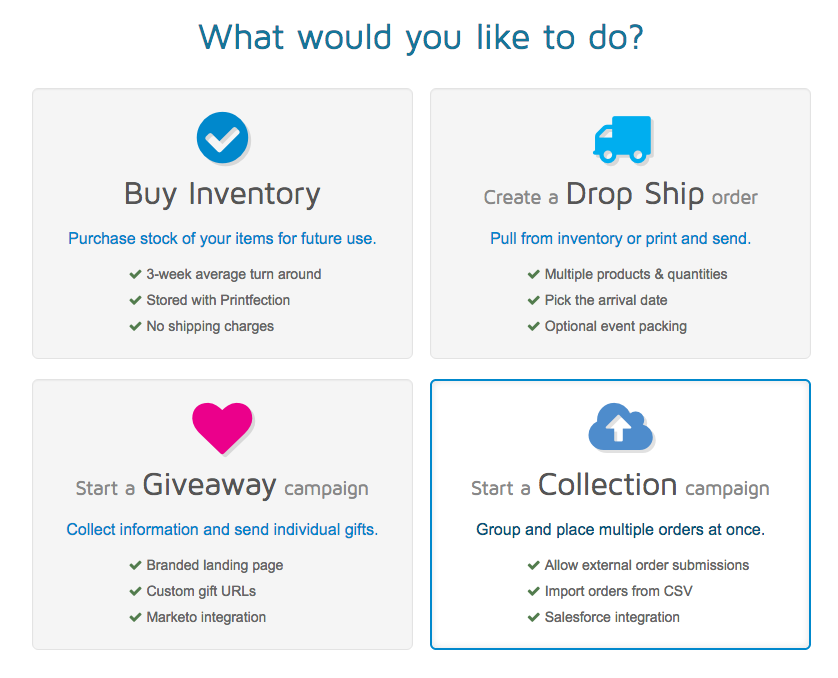
The first thing you'll need to do is create a Collection campaign and enable the ability to collect external orders (if you have an existing Collection skip to step 2):
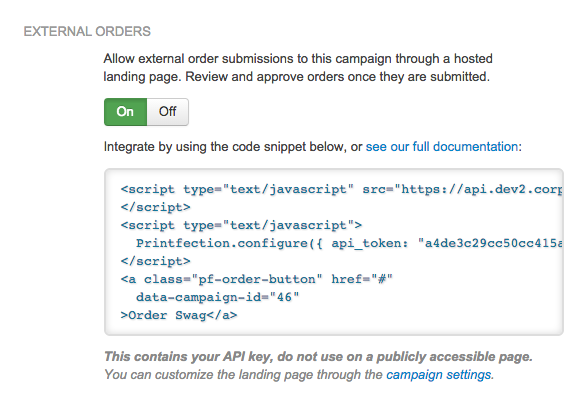
2. Verify that external ordering is enabled
If you set this in the first step you're already good, but make sure that the External Orders is set on the campaign Overview page:
3. Update the campaign to have items and branding
You'll want to go to the Items page from the top navigation and choose what items your Sales Reps will be allowed to order through this campaign.

You probably also want to specify some branding on the Settings page that aligns with your company.
4. Create a new custom field in Salesforce
Login to Salesforce (Note: you'll need to be an administrator account for some of these steps) and go to the Setup area from the top-right navigation of the site.
Under the Build > Customize menu on the left-hand side choose the object you want to apply this action button to, in this example we'll be using the Activities object.
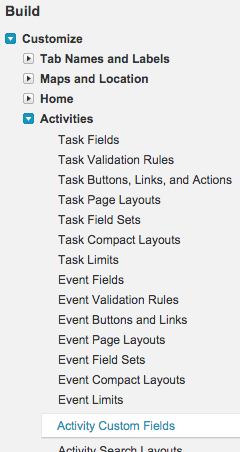
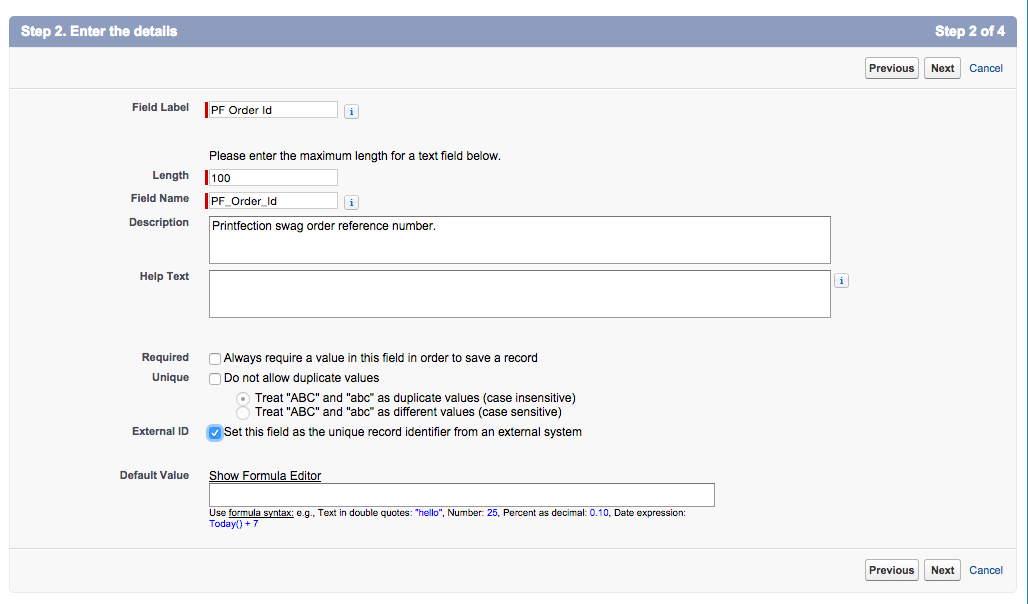
Under the object's menu choose the Custom Fields navigation item and create a new field named: PF_Order_Id (Note: it's important to match this name exactly). Make sure the field is Text and has a length over 20 characters. You'll also want to mark the field as an External ID for reference in the future.
5. Create a new button action for the object
From the left menu choose: Build > Activities (or your object) > Task (or object) Buttons, Links, and Actions.
We'll be using a new button to create a swag order for your object.

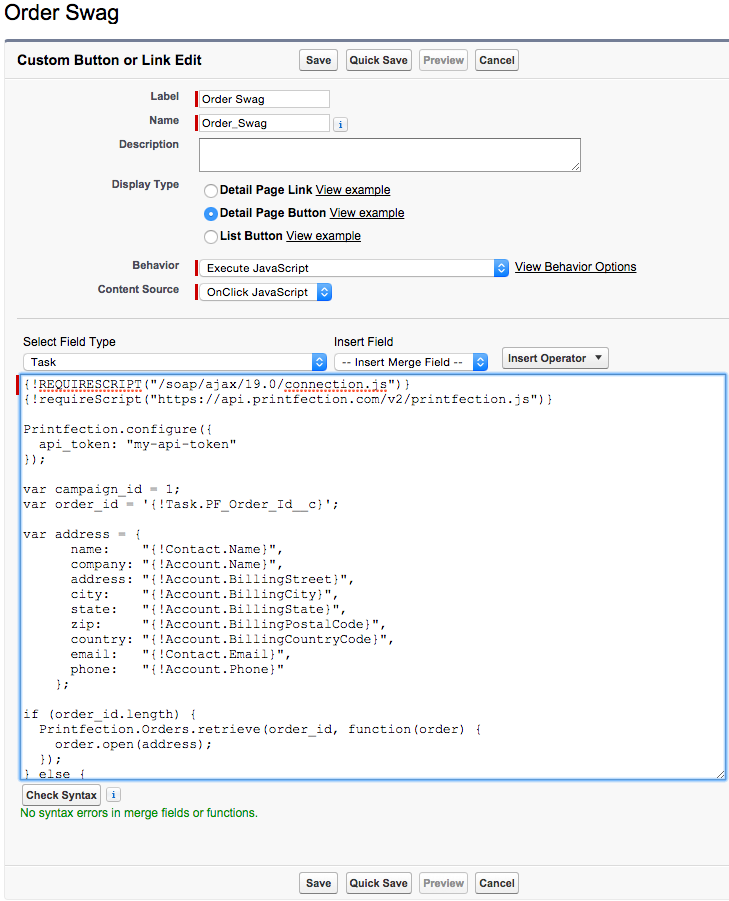
Choose the top button that says New Button or Link and create a button called Order Swag using the following options:
- Label: Order Swag
- Name: Order_Swag
- Description: Place a swag order using Printfection.
- Display Type: Detail Page Button (or whatever you want to use)
- Behavior: Execute JavaScript
- Content Source: OnClick JavaScript
- Select Field Type: Task
Input this code from Github in the large Task field.
Make sure your API Token and Campaign ID in the above code example have been filled with your actual API Token from your account and the related campaign id (located at the end of the URL for your Collection campaign, i.e.: printfection.com/account/campaign/overview.php?storeid=123456).
6. Go to a Task and view your new button
Now that you've added an action button to Tasks within your Activities object you'll see that Order Swag button available on a task.
![]()
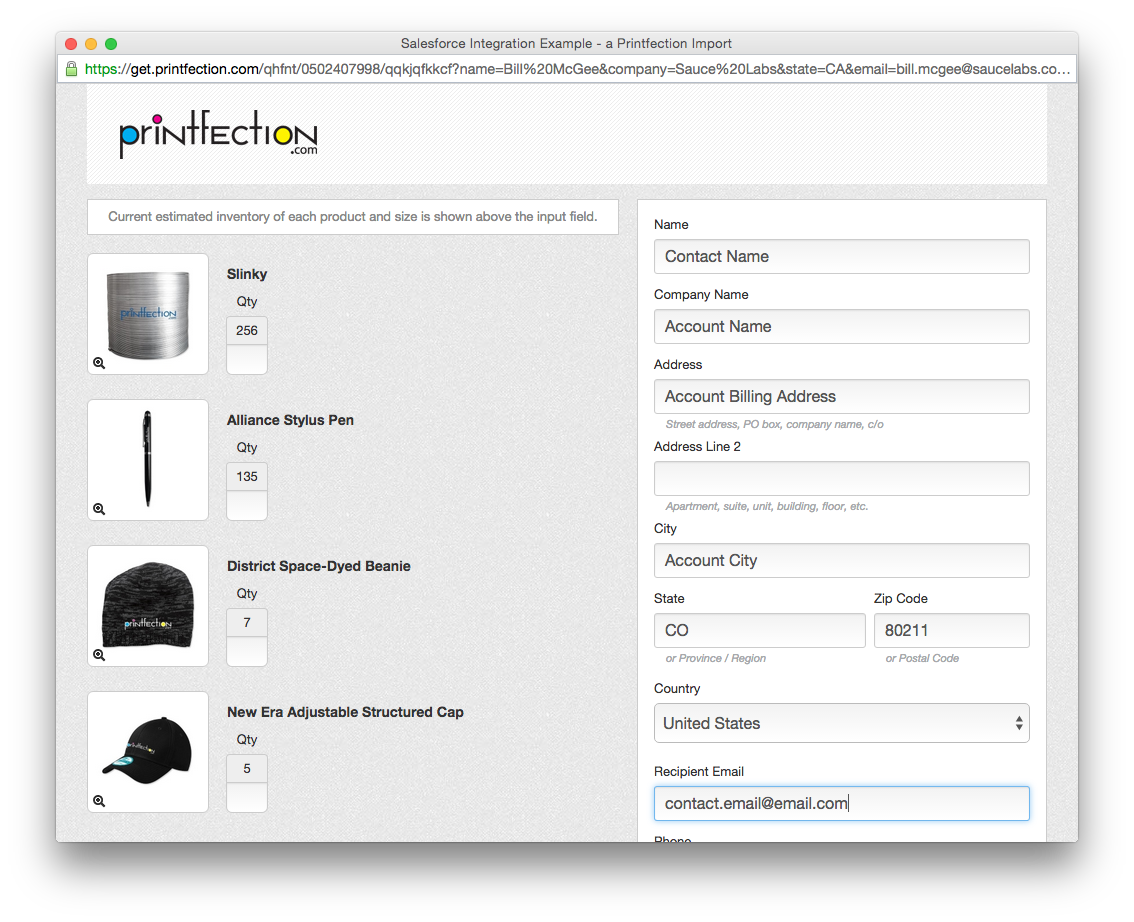
Click it and you'll see a new Printfection order pop-up with the relevant Salesforce contact and account info.
A few last notes:
Salesforce Object References: If you decide to use a different Salesforce object than Activities, you'll need to alter the code snippet accordingly. You can reference Salesforce API documentation for an exact reference of Object names.
Review and Approve: In order for these orders to be placed you will need to Review and Approve them from the Manage page within your Collection campaign.
