One of the first things you'll want to do after starting with Printfection is get new swag items added to your account. This article quickly covers the process of adding new swag to your account.
Walkthrough: How to create your first Printfection item
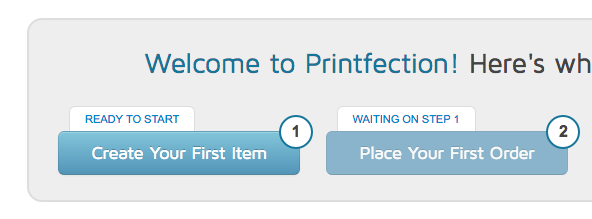
After selecting your Printfection plan type and logging into your account you'll be presented with a dashboard of Next Steps.
1. The first thing you'll want to do is start creating your first item by clicking on the steps provided.

2. You'll be presented with the Printfection catalog that you can browse in full. You can see things like Popular Items, Apparel, Drinkware, and tons more. As you click into each category you can see items, colors, and basic pricing.

3. Once you've selected an item you'll need to provide a few details, such as the: Item Title, Vector Artwork, Artwork Color, Artwork Sizing and Placement. If you don't have access to all of this information, that's okay. Just fill out what you do have and our item experts will work with you to iron out the rest.

4. Once your Item Request has been submitted you can review the progress at any time right from the Account Dashboard when you log in.
You may also want to get in the habit of going to the Items in Progress menu navigation item. This page gives you access to all of your ongoing Item Requests.

5. Each item that's being set up has it's own page showing the current status. This includes what steps have already been completed, and what steps remain. It also is where you can view: Item Information, Item Pricing, Virtual Samples, and Your Artwork.
As the last step you'll need to Approve Your Item from this page.
6. Once your item or items have been approved, you'll want to place your first order. You can learn how to do that with our How to Buy Inventory article.