Kits are a great way to bundle items together to provide a "wow-factor" unboxing experience for customers, prospects, and new hires. You can get a deeper overview on kitting here.
Start a new kit
Log into Printfection and click the Merchandise tab, and then click the Kits in Progress sub-tab.

Click the green "Start a new kit" button

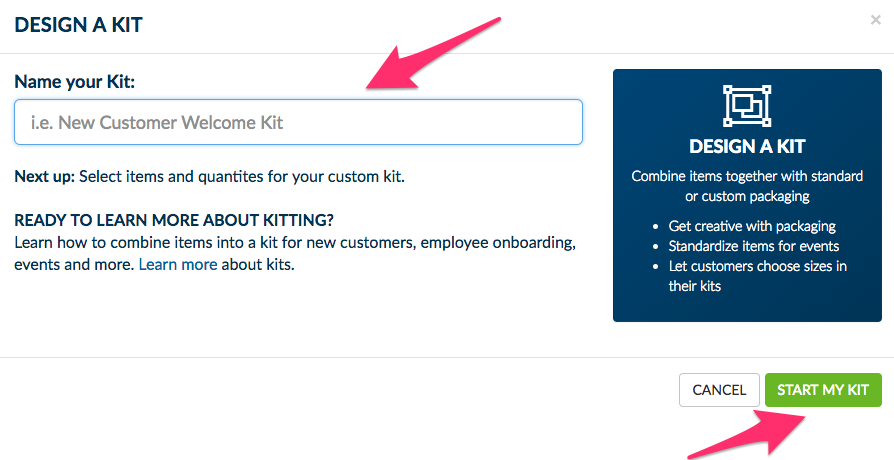
Name your kit
Give your kit a simple description that will easily allow you to differentiate it from other kits you may create. Then click the green 'Start my kit' button.
Select the items for your kit
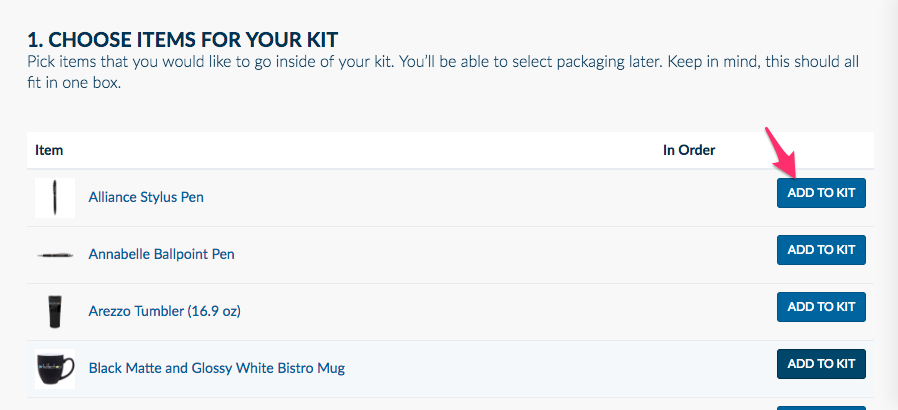
Choose the items from your available inventory that you would like bundled in the kit. Click the blue 'Add to Kit' buttons for each of the items you wish to add.
If you don't see an item you want, you can head into the swag catalog, find an item you like, and begin a new item setup to get that added to your inventory so you can use it in your kit.
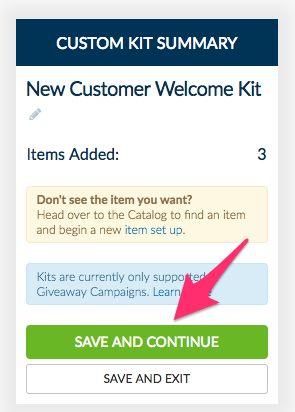
A summary of the number of items selected will appear to the right.
Once you're happy with your selected items, click the green 'Save and Continue' button.
Choose the item quantities for your kit
Each item starts at a quantity of zero. Click into the box and set the quantity for each item.
In the example below, we've selected 5 pens. This means a single kit will have 5 pens inside.

If you have sized items like t-shirts, you can select the default sizing. These defaults can be overridden later by you or your end user.
For example, let's say you want your kit to contain two shirts, and you set the default sizing to be 1 small and 1 medium.
When you direct users to your Giveaway page, they can select two shirts of whatever sizes they want (say 1 large & 1 XS, or even just 2 larges), provided you have those sizes stocked in your inventory.
If you don't have a particular size in stock, the recipient will simply see that it's not available.
Once you're satisfied with your item and quantity selection, click 'Save and Continue.'
Choose your packaging type
You can choose standard packaging if you don't need any custom branding on the box. This is the least expensive option.
If you want a custom polybag or custom box with your logo on it, you can select one of those options and go through the setup process.
If you have previously created custom packages set up in your account, you can choose from those at the bottom of this screen.
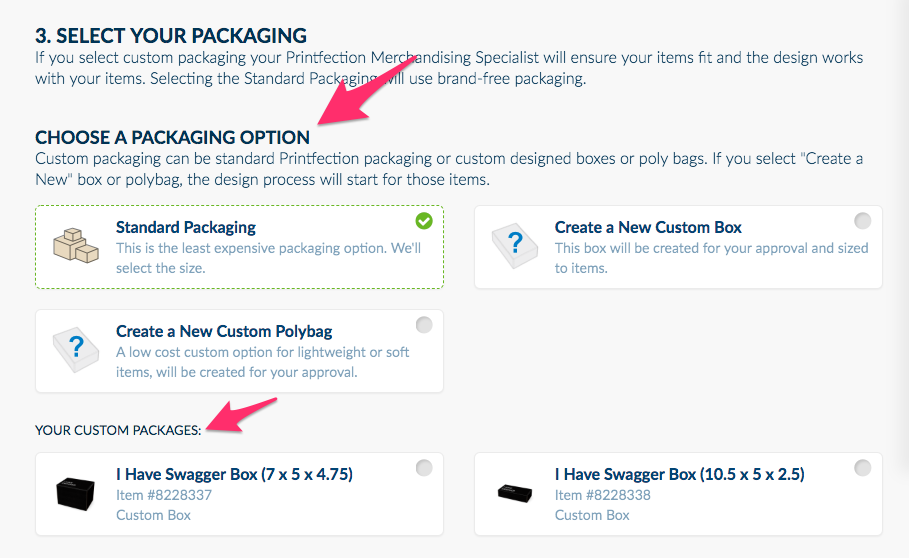
Once you are happy with your selections, click 'Save and Continue.'
Verify your kit
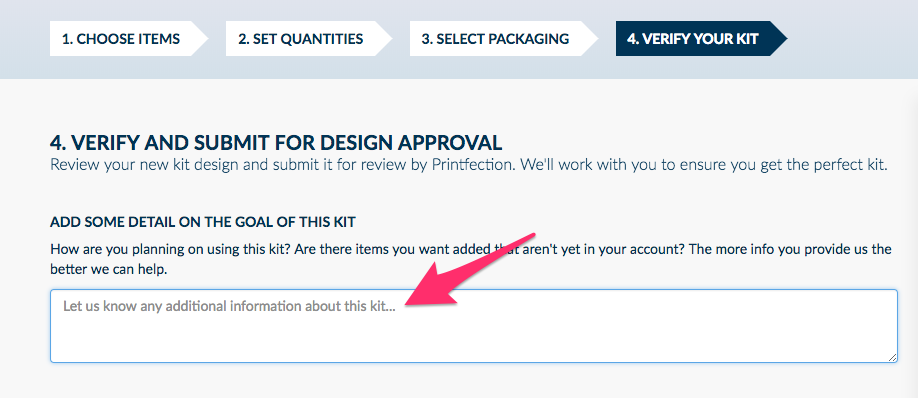
Verify your selections, and add more detail around the goals for your kit.
This info will help expedite the processing of your kit and may also help us make specific recommendations.
You'll then be shown your kit summary with the number of unique items added and also the total pieces.
For example, if you selected 5 of a single type of pen, 1 mug, and 1 postcard, your items added would be 3 and your total items would be 7.
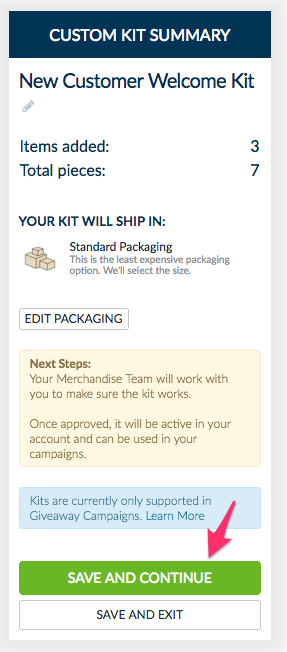
Once you hit save, our Merchandise team will receive and begin processing your request. They may reach out to you if they have any questions.
Once approved, you will receive an email that your kit is ready for use!