This article covers how to use kits in Collection campaigns. For an intro on what kits are and how to create them, check this out.
Kits are currently partially supported in Collection campaigns. They can be added from the manage page and by your team from the campaign's external page. Adding a kit to an order will use the default quantities and sizes specified when the kit was initially set up. Changing the sizes in a kit for each order is not currently supported in Collection campaigns. You may use kits with sized items indicating the size you want via the CSV upload method only.
Gift messages are fully supported with kits and will be added to the kit if specified when submitting the order.
To get started, go to your particular Collection campaign.
Adding a kit via the manage page
Click on Manage.

Scroll down and click on +Add Order.
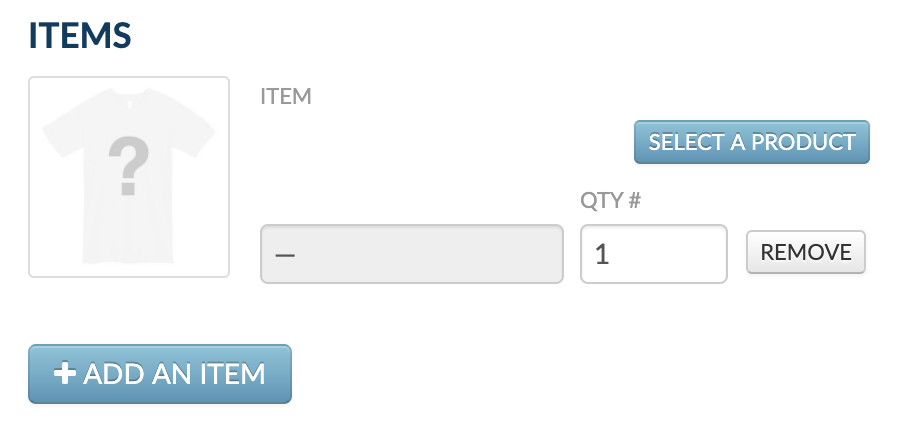
The order will open with a default item in it. You'll have to remove that item first (simply click the gray REMOVE button which appears below the Select a Product button).

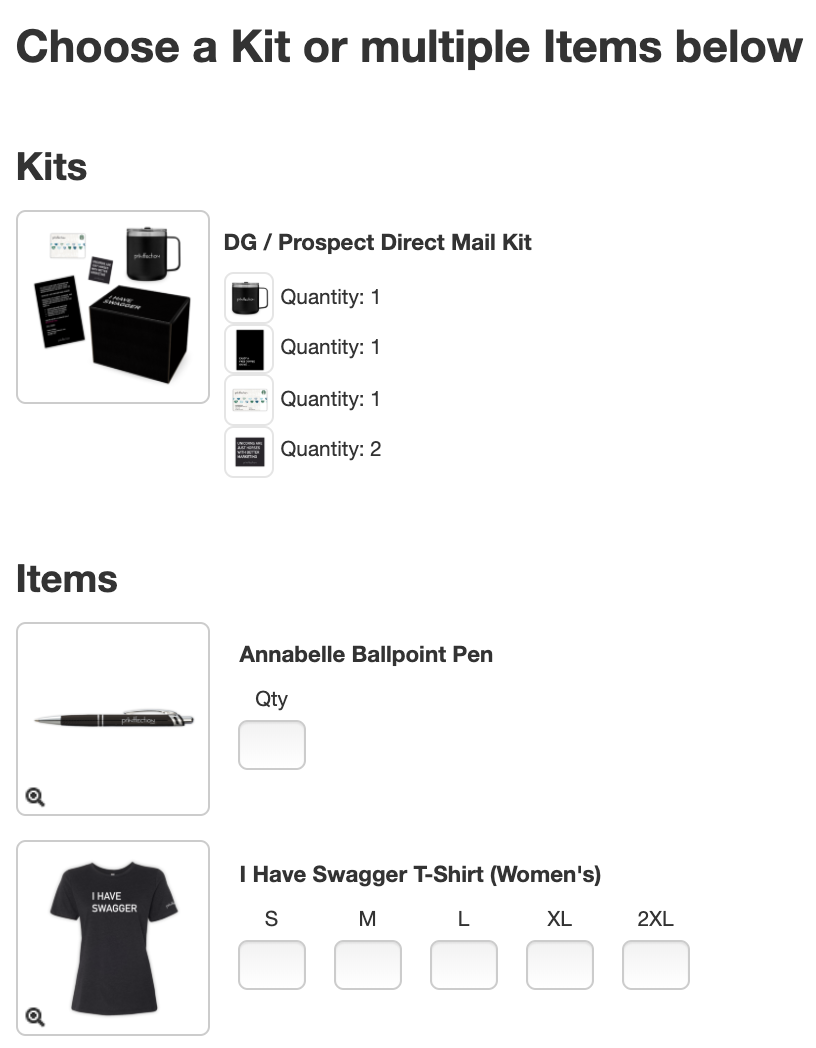
Then you can select the Add Kit button. This will show the kits that are available for use.
Adding a kit via the external page
Your Collection campaigns can have both individual items and kits in them. When you go to an external Collection page, you can choose either kits or items (you have to pick one or the other).

The confirmation page works just the same as when you are doing a Collection with items.
Once you have placed your kit order, admins can modify the order from the manage page, like you normally would.
User budgets and kits
Kits also adhere to Printfection's budget controls, so if a user attempts to submit a kit order that exceeds their budget, they will not be able to do so.
You can read more about user budgets here.